Skip to content
No results
About us
Affiliate Disclosure
Contact
Privacy Policy
Sitemap
Terms and Conditions
Home
Cornhole
Pickleball
Disc Golf
Spikeball
Search
Menu
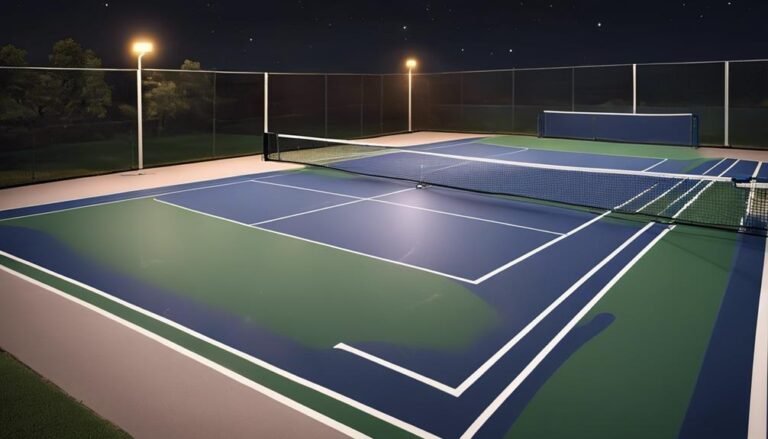
How Many Foot Candles Do You Need for a Pickleball Court?
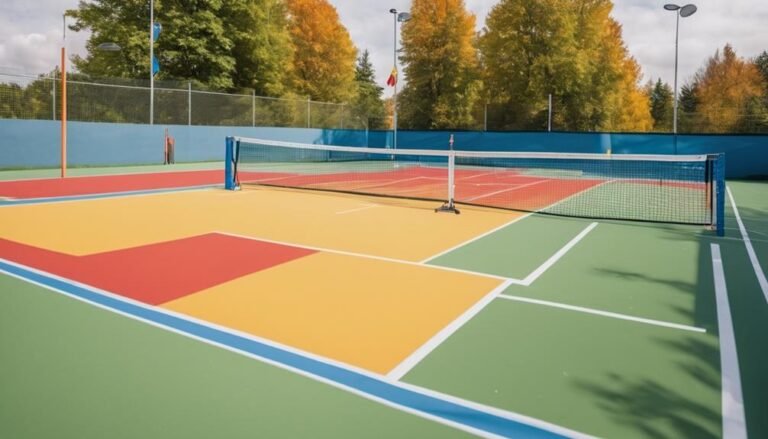
Is There Pickleball in Germany?
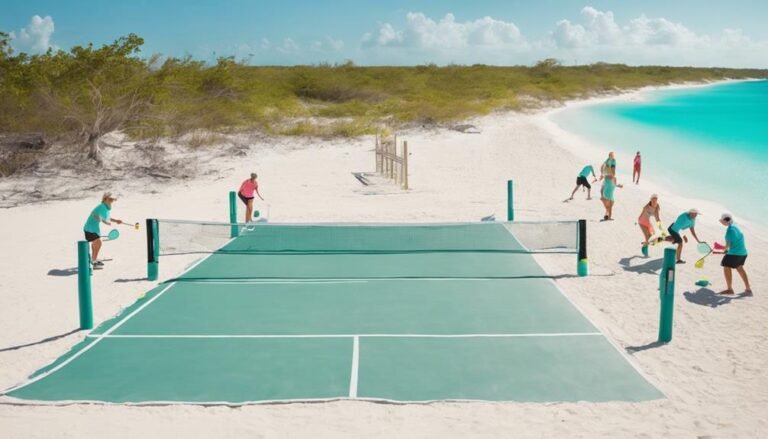
Are There Pickleball Courts in Turks and Caicos?
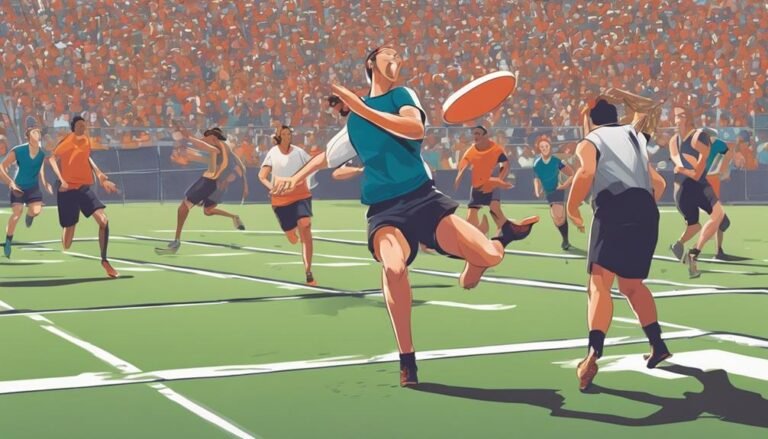
What Is a Callahan in Ultimate Frisbee?
Do Sandals Resorts Have Pickleball?
What Are the Player Positions in Badminton?
Is There Pickleball in Costa Rica?
Is There Pickleball in Puerto Vallarta?
Where Is Pickleball on Anna Maria Island?
Where Can I Play Pickleball in San Jose Del Cabo?
What Is Momentum in Badminton?
Where to Play Pickleball in Mexico?
1
2
3
4
…
24
Next
Trending now
How to Organize a Bocce Ball Tournament
How Many Foot Candles Do You Need for a Pickleball Court?
American Bocce Ball Rules
Is Slammo As Good As Spikeball?